Run 1-click Deploy
Create DigitalOcean Account
In order to deploy xplex as a 1-click Droplet, you need to log in to your DigitalOcean account. If you don’t already have a DigitalOcean account, please create one by signing up with the following link:
Initiate xplex Deployment
| From Marketplace | From Dashboard |
|---|---|
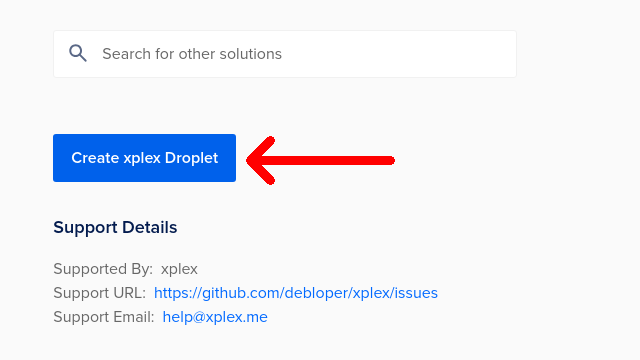
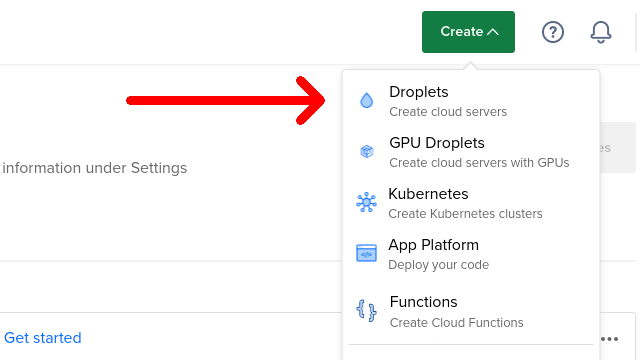
Either, visit xplex on DigitalOcean Marketplace & click on the Create xplex Droplet button | Or, from the DigitalOcean dashboard click the Create > Droplets buttons on the top-right |
 |  |
Set Droplet Preferences
Once in the droplet creation wizard, you need to go through a few steps to set up the droplet. Detailed steps have screenshots to guide you through the process.
-
Choose Region — for the nearest datacenter
Closest datacenter region will ensure lowest latency. Leave the datacenter ID (e.g. SFO1, SFO2, SFO3 in SFO region), and the VPC Network to whatever is chosen by default; you shouldn’t have to change those, in general.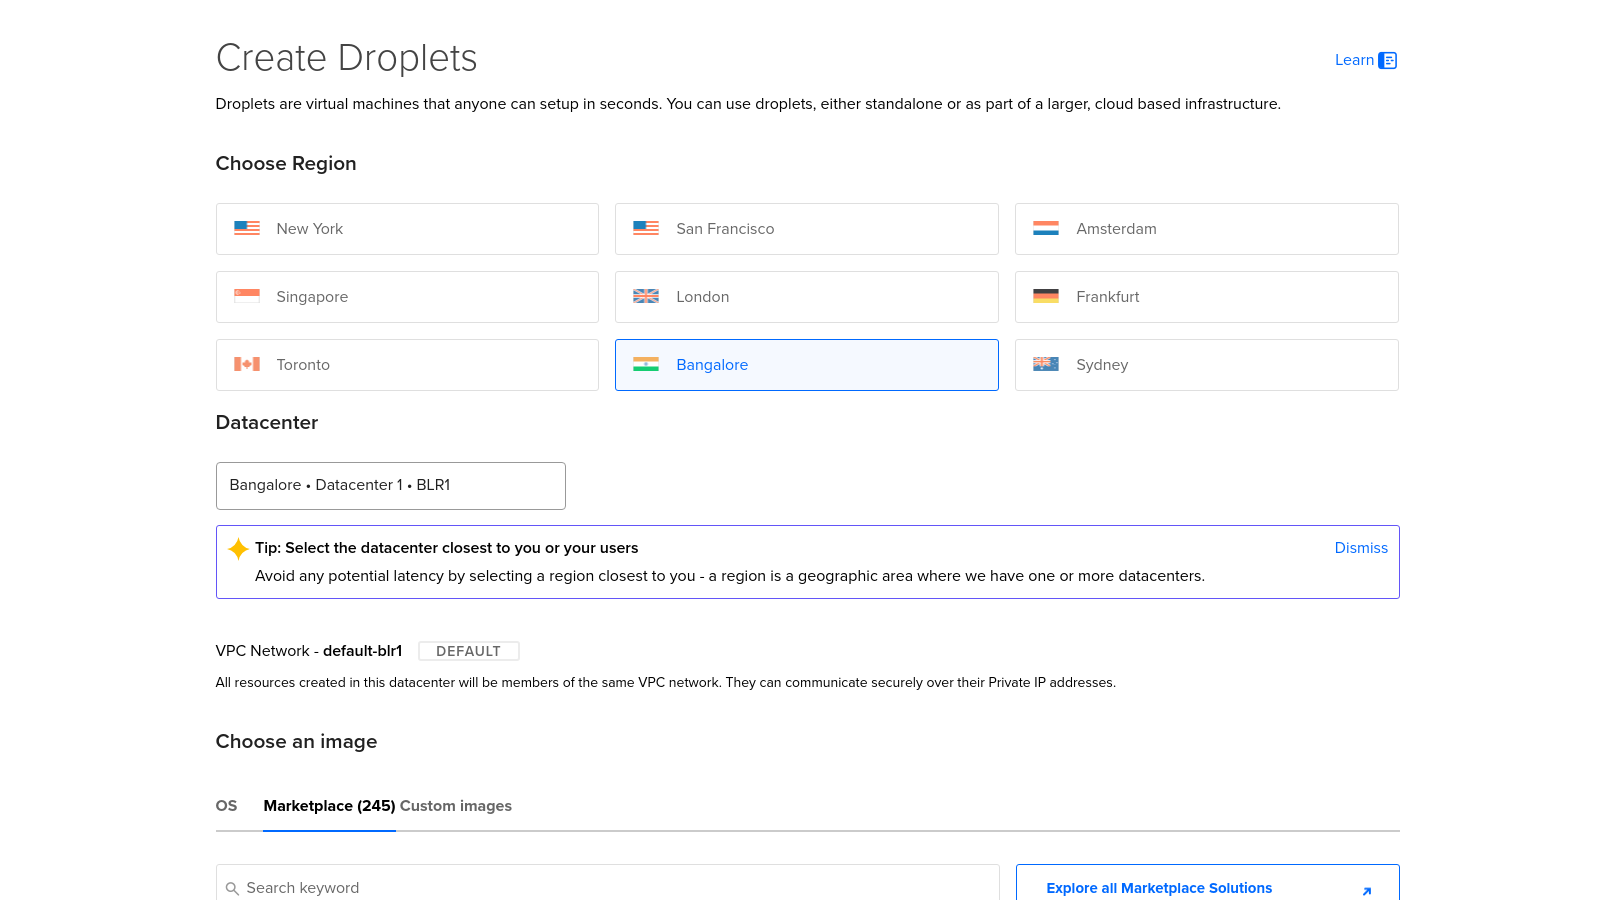
-
Choose an image — the preconfigured snapshot
If you’ve started from 1-click link on xplex ‘s marketplace listing page, then the correct latest image will already be selected for you—you don’t have to do anything.If you’ve manually started the process of creating a droplet, then search for
xplexin the marketplace images & then click to select it.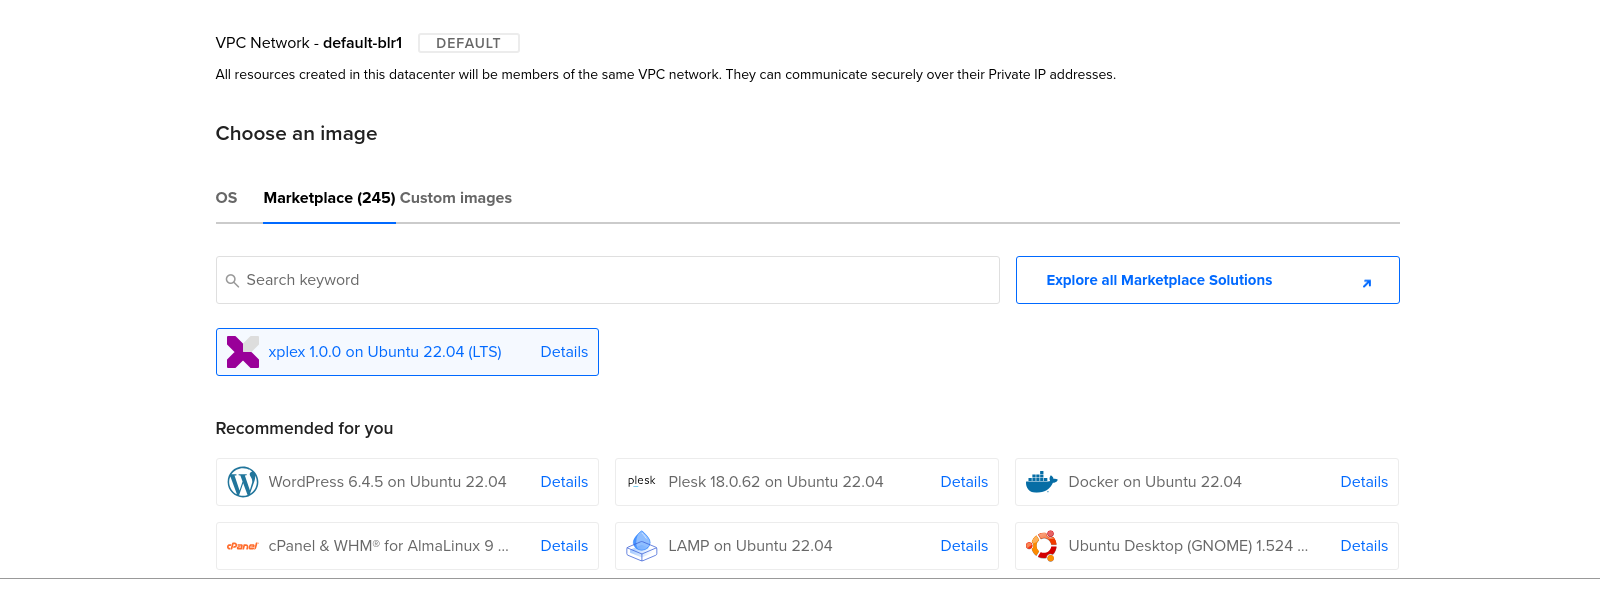
-
Choose Size — the smallest droplet is sufficient
xplex is a very lightweight solution. So, choose theSHARED CPUdroplet type, andRegularas the CPU option. Click the arrow on the left of the list of droplet sizes to see the smallest one allowed, which should be $6/month.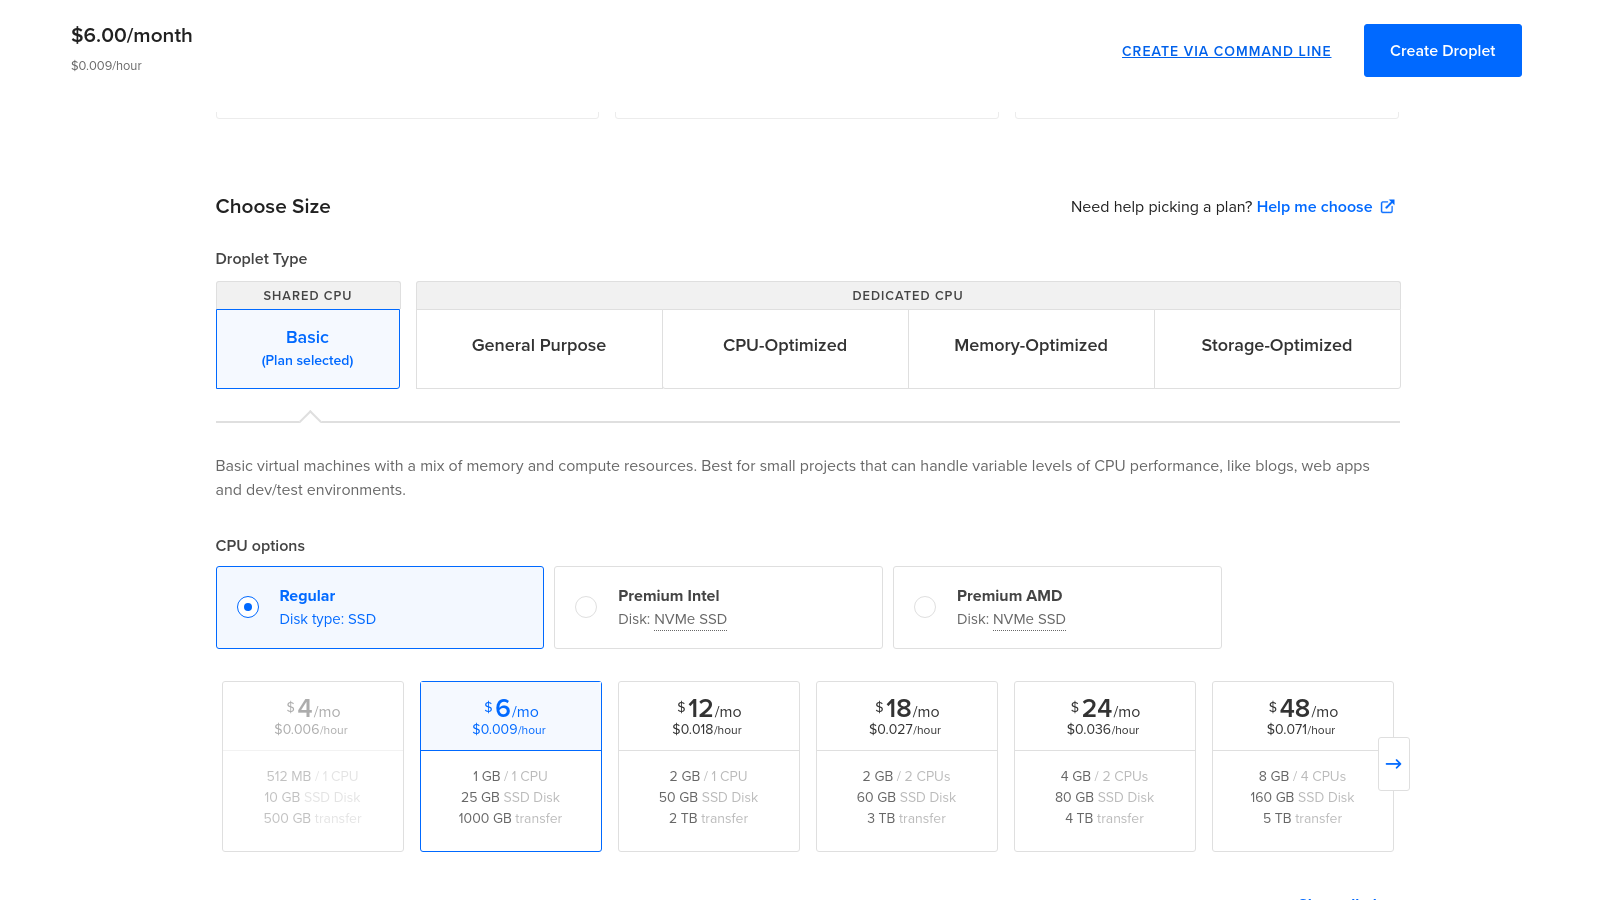
-
Miscellaneous Choices — just leave them be
No need to change anything in theAdditional storage,Backupsetc. advanced options. Though you can configure theChoose Authentication Methodsection, you absolutely don’t have to. Just leave them as they are, unless you have a good reason to change them.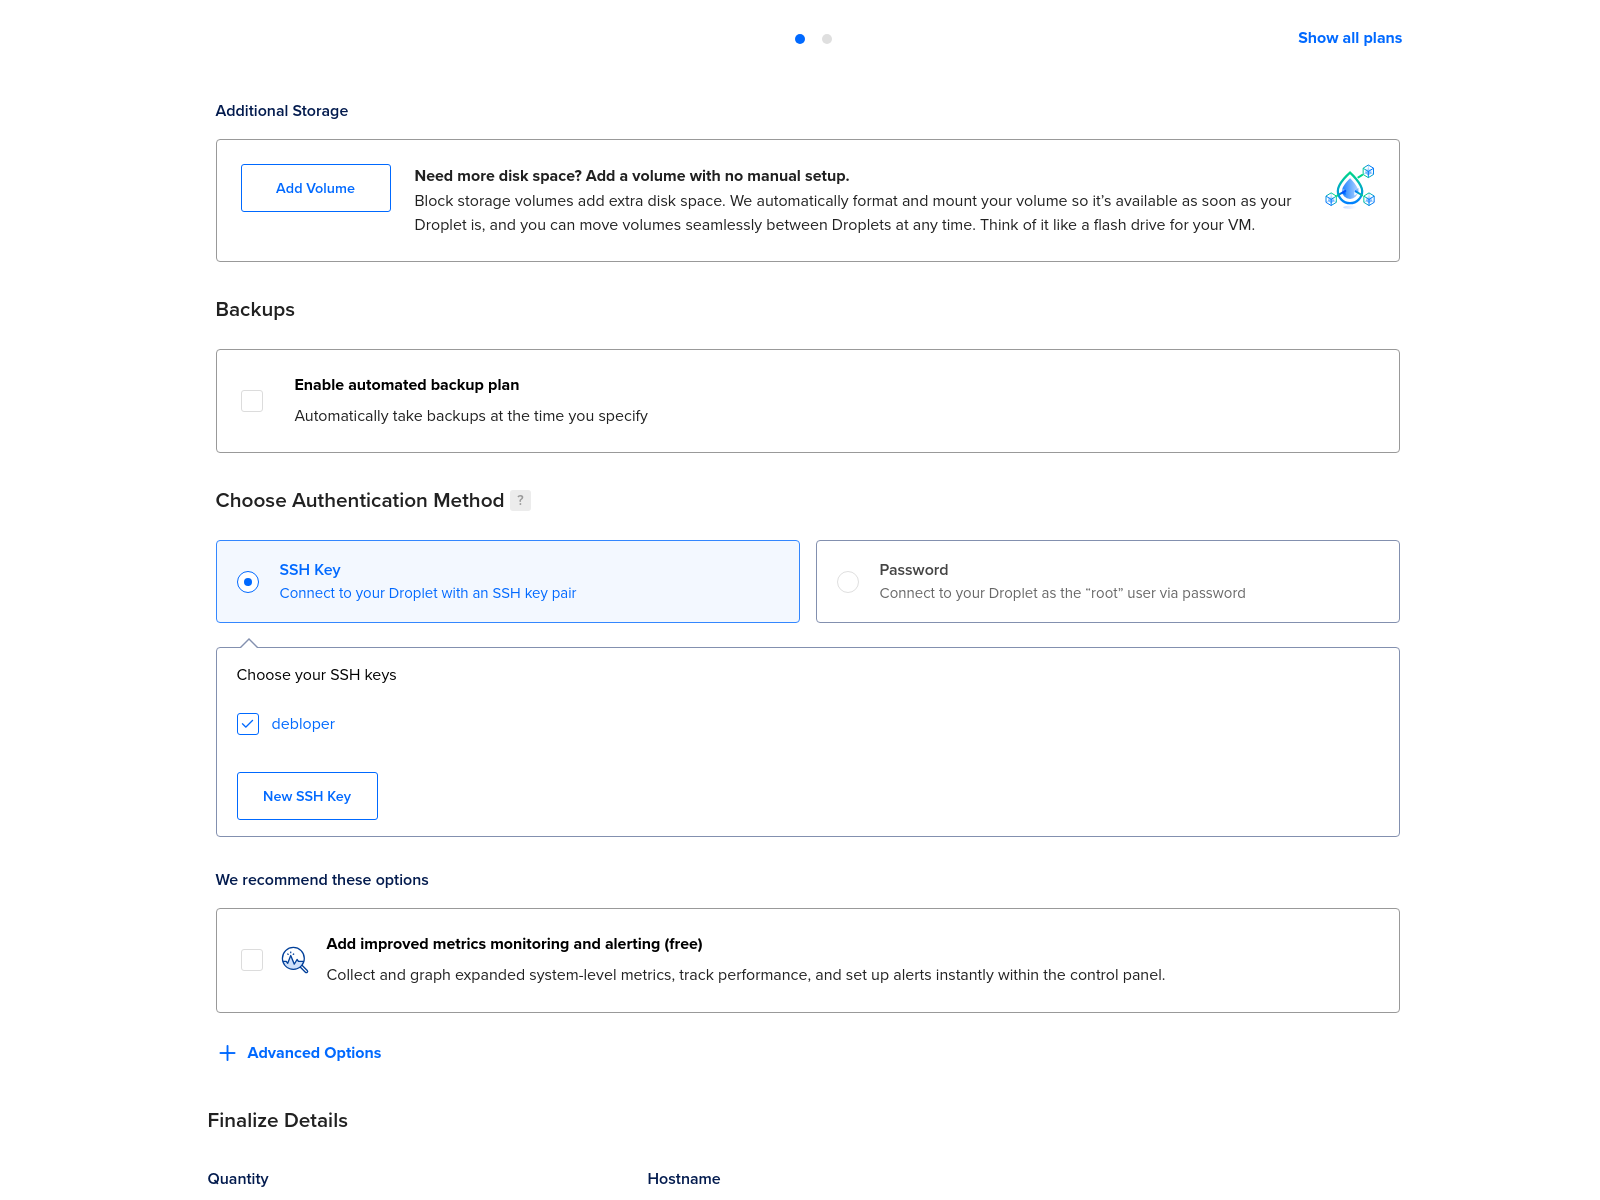
-
Confirm Choices — to create xplex instance
Leave the quantity to1 Droplet. You can change the hostname to something you prefer, over the one given by default—but you don’t have to. If you use tags to organize droplets, you can do so—but again—you don’t have to.As the final step, click on
Create Dropletbutton to confirm the choices & let it cook.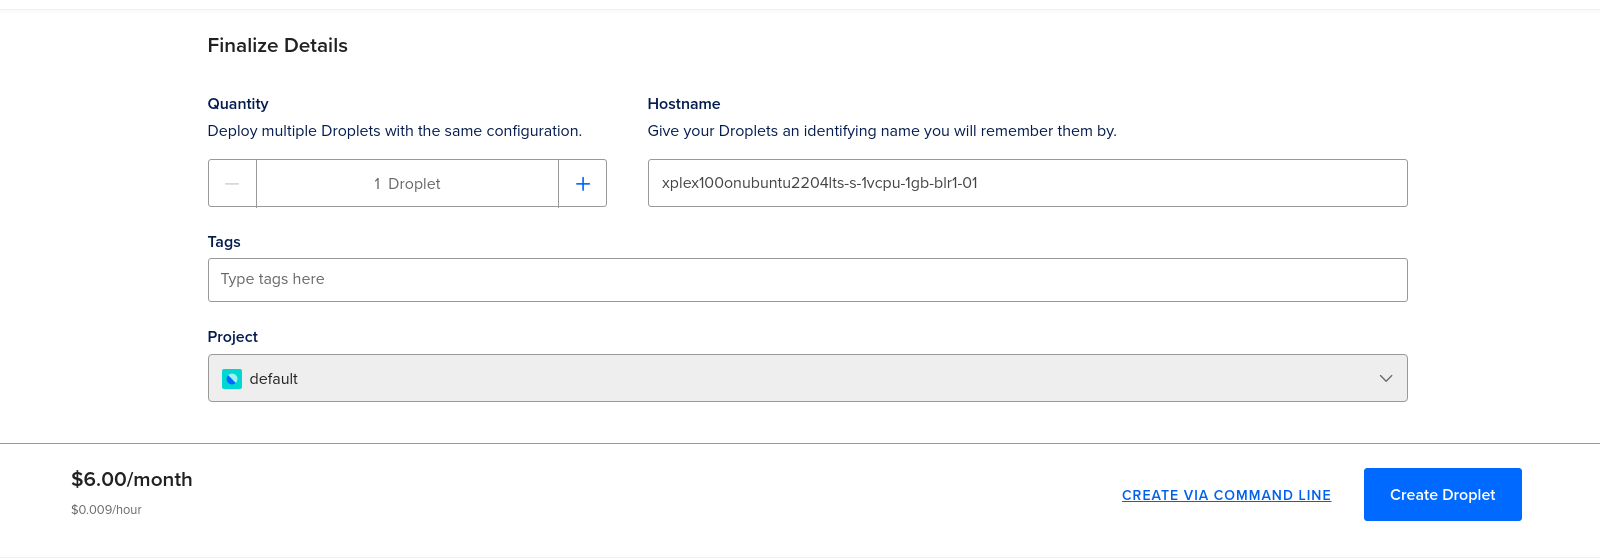
Get Droplet IP Address
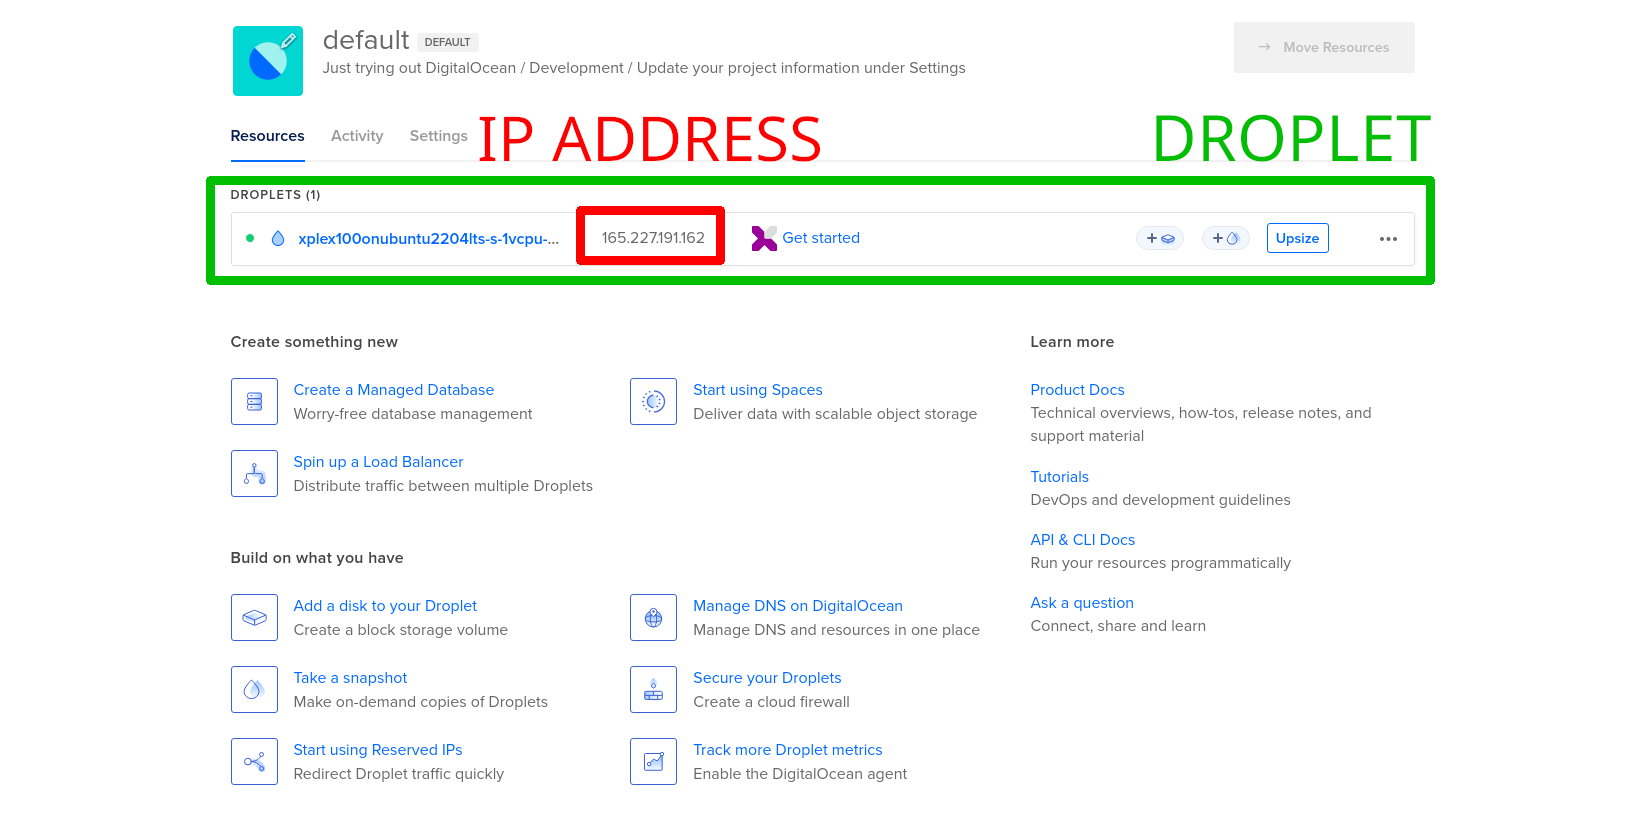
Once the droplet starts creating, you’ll be taken to the dashboard. Wait for it to complete.
You’ll see the IP address of the droplet on the right side of the droplet name. Copy that IP address, as you’ll need it to access the xplex instance.
Open xplexHQ Dashboard
Open a browser tab, paste the IP address of the droplet, and press ENTER. You’ll see the xplexHQ dashboard, which is the control panel for your xplex instance.
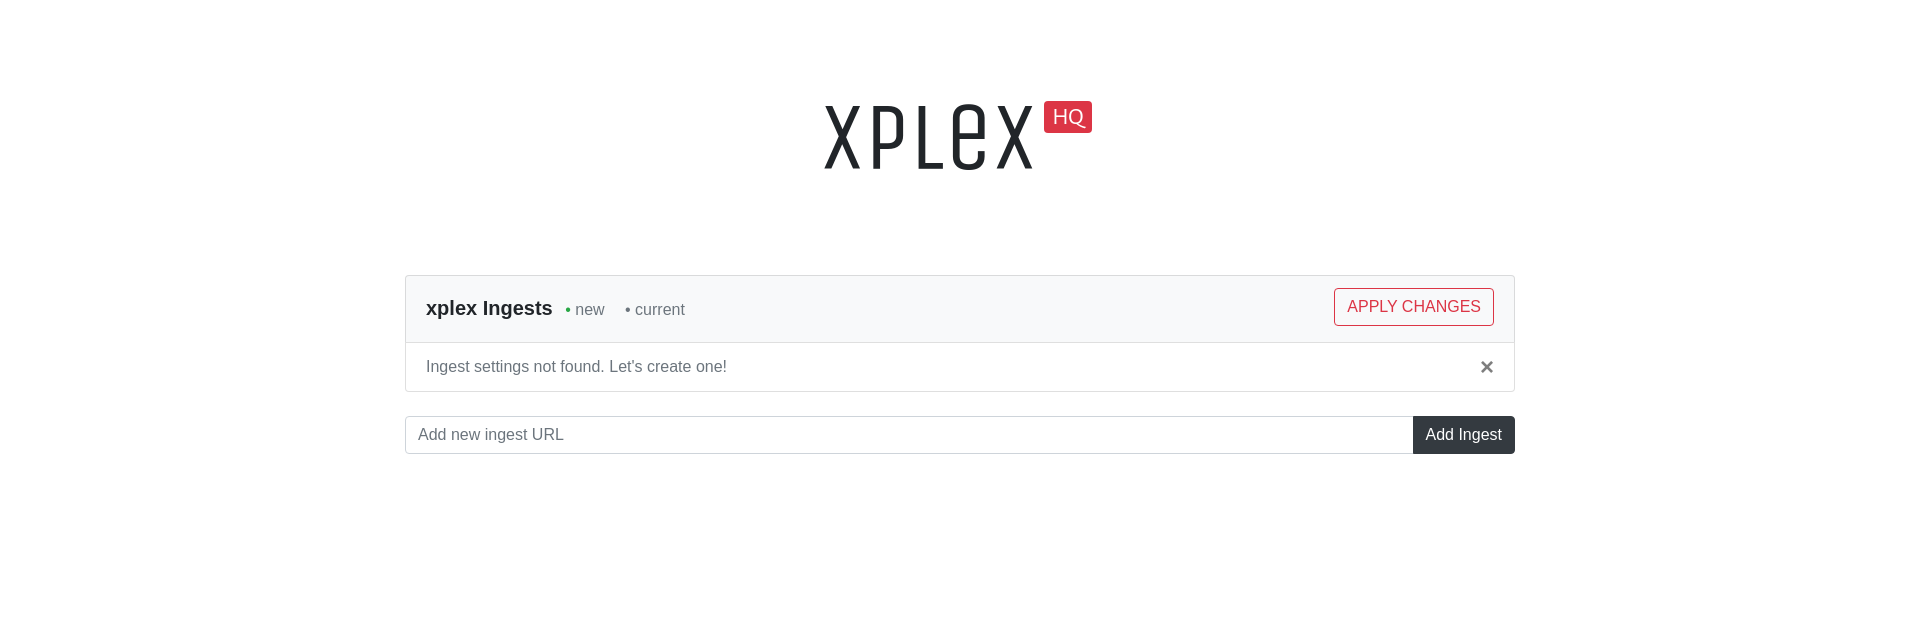
That’s it… xplex is now live & ready for you to setup your multi-streaming details.
🎉🎉🎉